


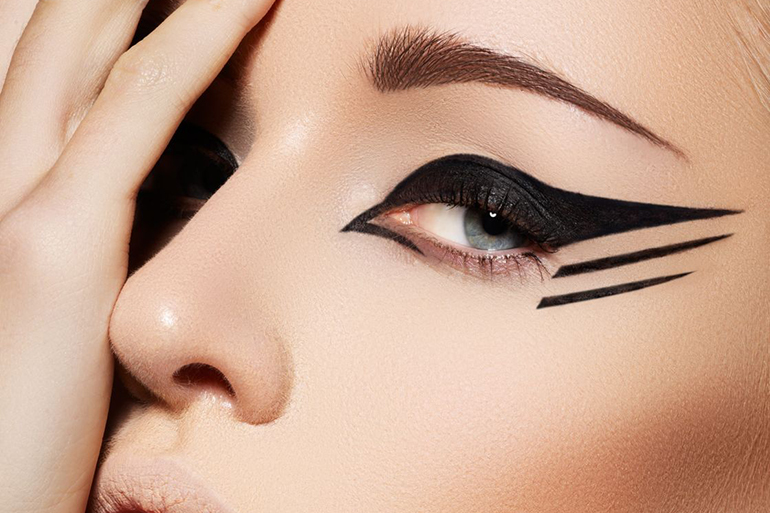
Sometimes, a regular cat’s eye just doesn’t cut it. Eye Calligraphy took the runways by storm in the last NYFW and it is starting to hit the streets. On your next night out, give it a try and take your liner to the next level.
Step 1: Prep
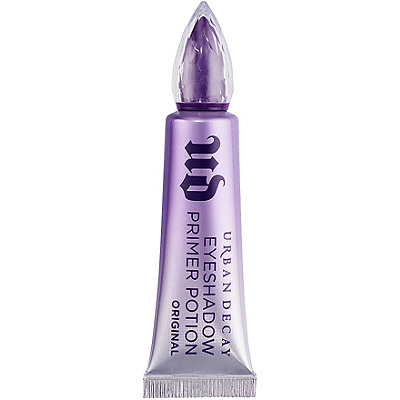
Keep your eye make up in place by using Urban Decay Eyeshadow Primer on the eyelid. Spread it evenly over the entire lid by using a gentle tapping motion.
Step 2: Base
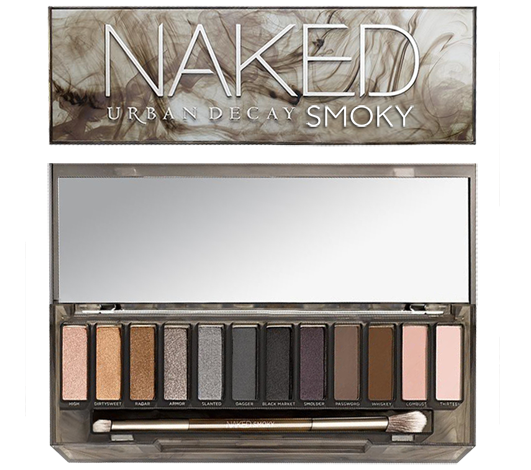
The focus of this look is the eyeliner so you want to stick to a simple eyeshadow. Apply a neutral-colored matte eyeshadow that is close to the color of your skin, just a wash of it all over the lid. From the Urban Decay Naked Smoky Eyeshadow Palette, I like using High, Dirtysweet, or Radar.
Step 3: Liner
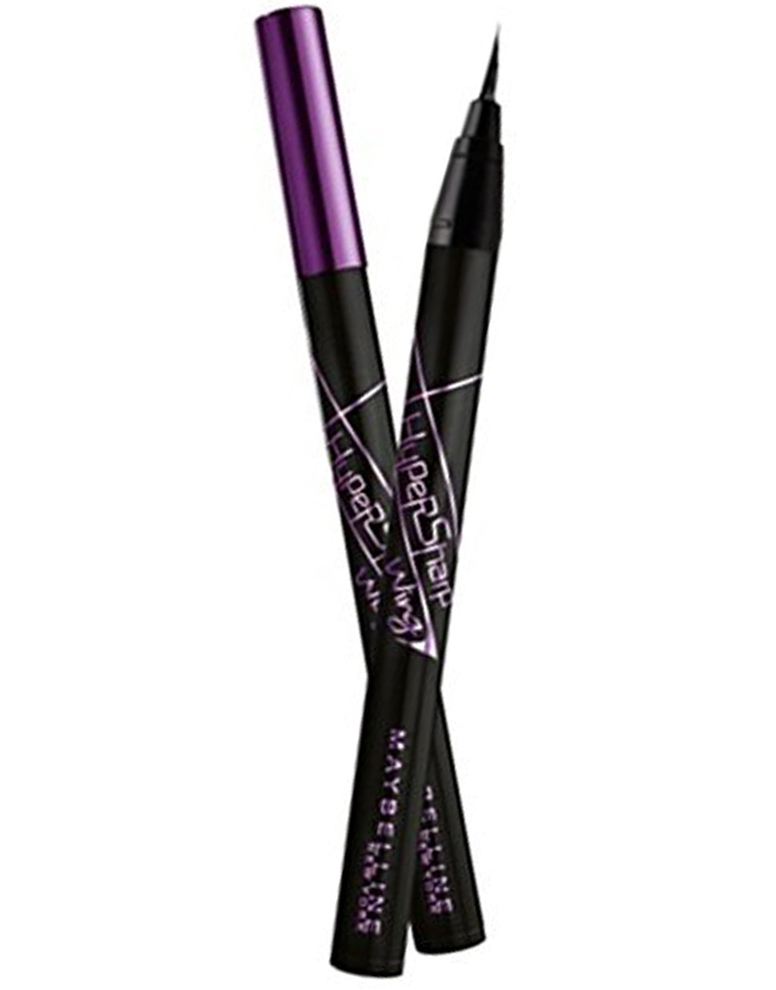
Picking the right eyeliner is the most important part of this process. You could go two ways: liquid eyeliner or gel liner. For beginners, I recommend using Maybelline HyperSharp wing liner. It has a brush that looks like a tiny little paintbrush which makes it easier to draw precisely. For this look you want to stay away from solid, foam-tip liners. If you are feeling adventurous, use the tiniest synthetic brush you can find and dip it in Urban Decay Waterproof Cream Eyeliner.
Step 4: Draw
Test the liner on your hand to get a sense of the amount of product on the brush and its consistency. Practice your strokes until you are comfortable, start lining your eye. Start with a traditional cat’s eye. Use small strokes as close as possible to your eyelashes, start at the middle then connect it to the inner corner of your eye. Drag the brush outward and create any shape you want. Don’t be afraid! Have q-tips and make up remover close by to correct any mistakes. Keep your eye closed until the liner dries completely.
Step 5: Mascara

Complete this look by curling your lashes and adding a few coats of KissMe Heroine Make Volume & Curl Mascara Super WP.
Text by: Amanda Padilla
Related Products:
There is no product to show