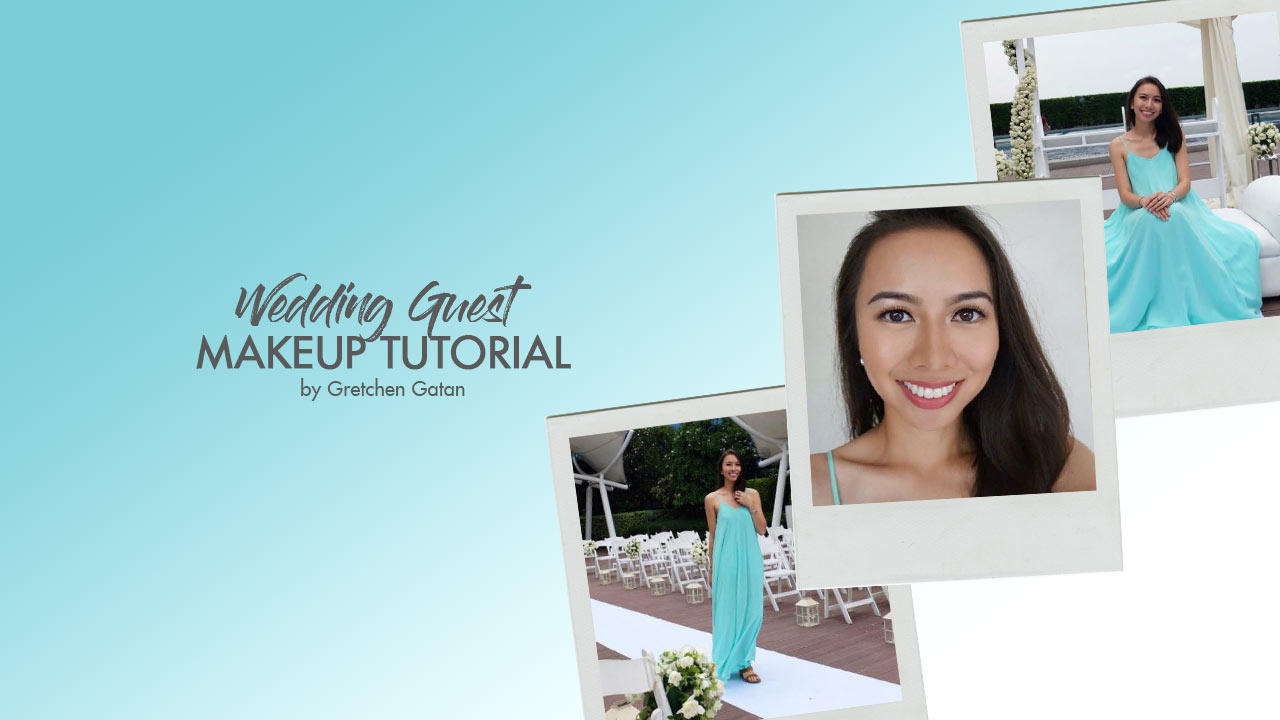
In any formal event, one of my favorite parts is always the “getting ready part,” especially when I’m about to do my makeup. Back in the day, it used to be all about going to prom or someone’s debut. But now, things are a little bit more different because I’ve been getting invited to more weddings. More weddings mean more chances of playing around with different makeup looks. But in my opinion, less is more, and as a wedding guest, I’m a fan of keeping the look as simple, as natural, and as fresh-looking as possible. Weddings are the worst time to experiment with a look you’ve never tried or you’re unsure would look good on you. It’s also not the time to hog the spotlight and be the center of attention with a bold or out-of-this-world ensemble!
Here’s a tried-and-tested combination of products that will stay on throughout the whole occasion—from ceremony to reception, and creates the freshest makeup look possible to highlight your features!

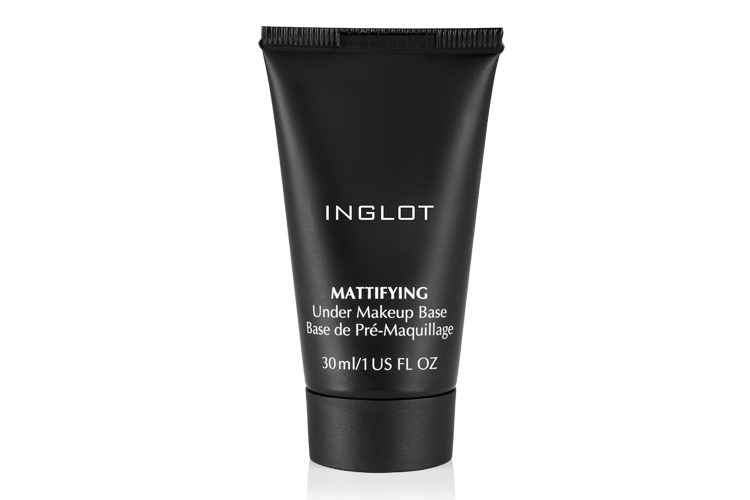
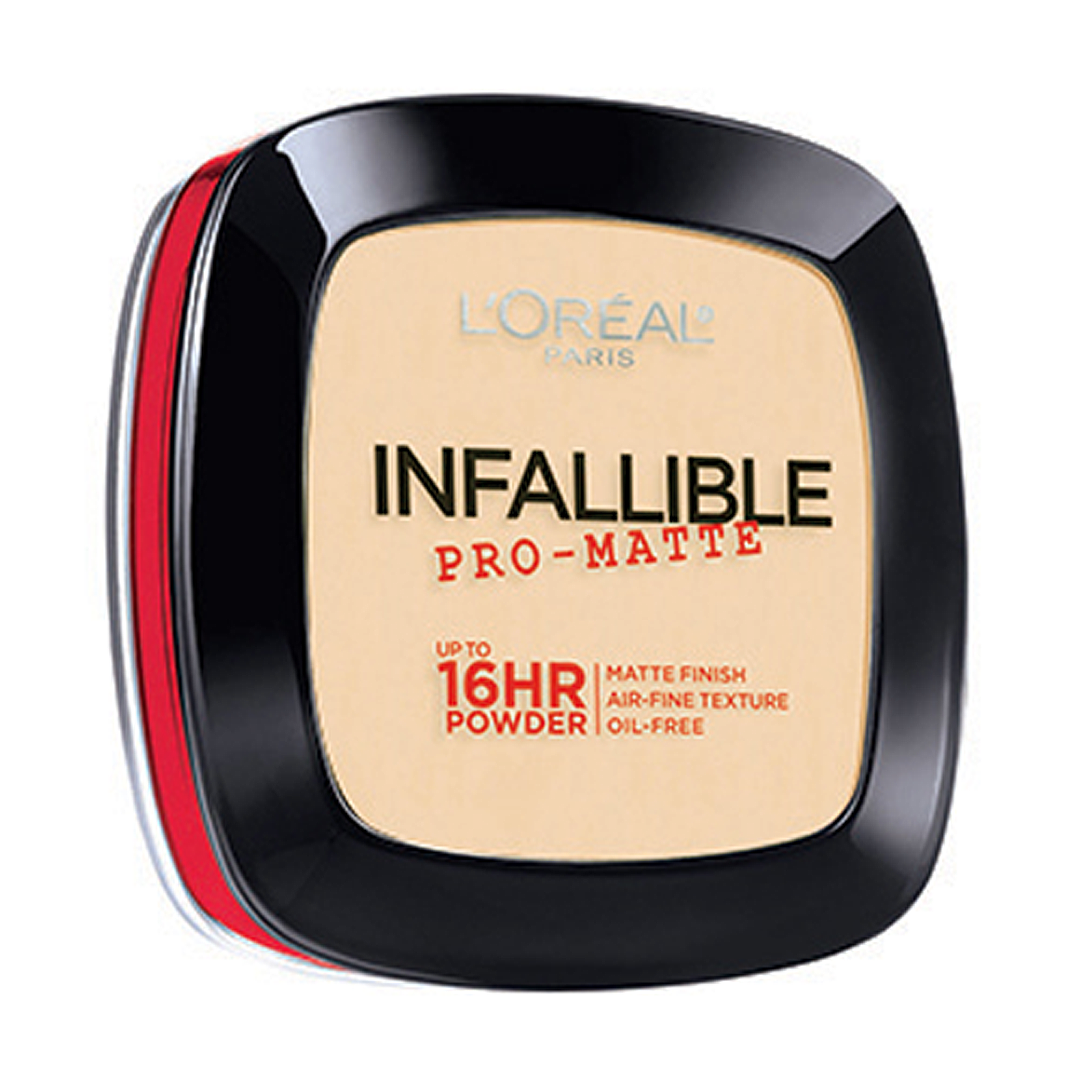
The key to a smooth and flawless base is having the right products for your skin type AND for the wedding’s location. Beach weddings in the Philippines, as I’ve experienced, are the worst for your makeup because the heat or humidity just causes you to break out into a sweat, and you’ll find yourself wiping your forehead and nose every so often—especially if you have oily skin like me! My tip? Use a mattifying primer like the INGLOT MATTIFYING UNDER MAKEUP BASE and lightly sweep a long-lasting powder like L’OREAL’S INFALLIBLE PRO-MATTE 16-HOUR POWDER.
On the other hand, if the wedding is in an airconditioned setting, it’s time to bring out the rest of your base! Here are my tips and techniques in creating the perfect wedding guest makeup look:
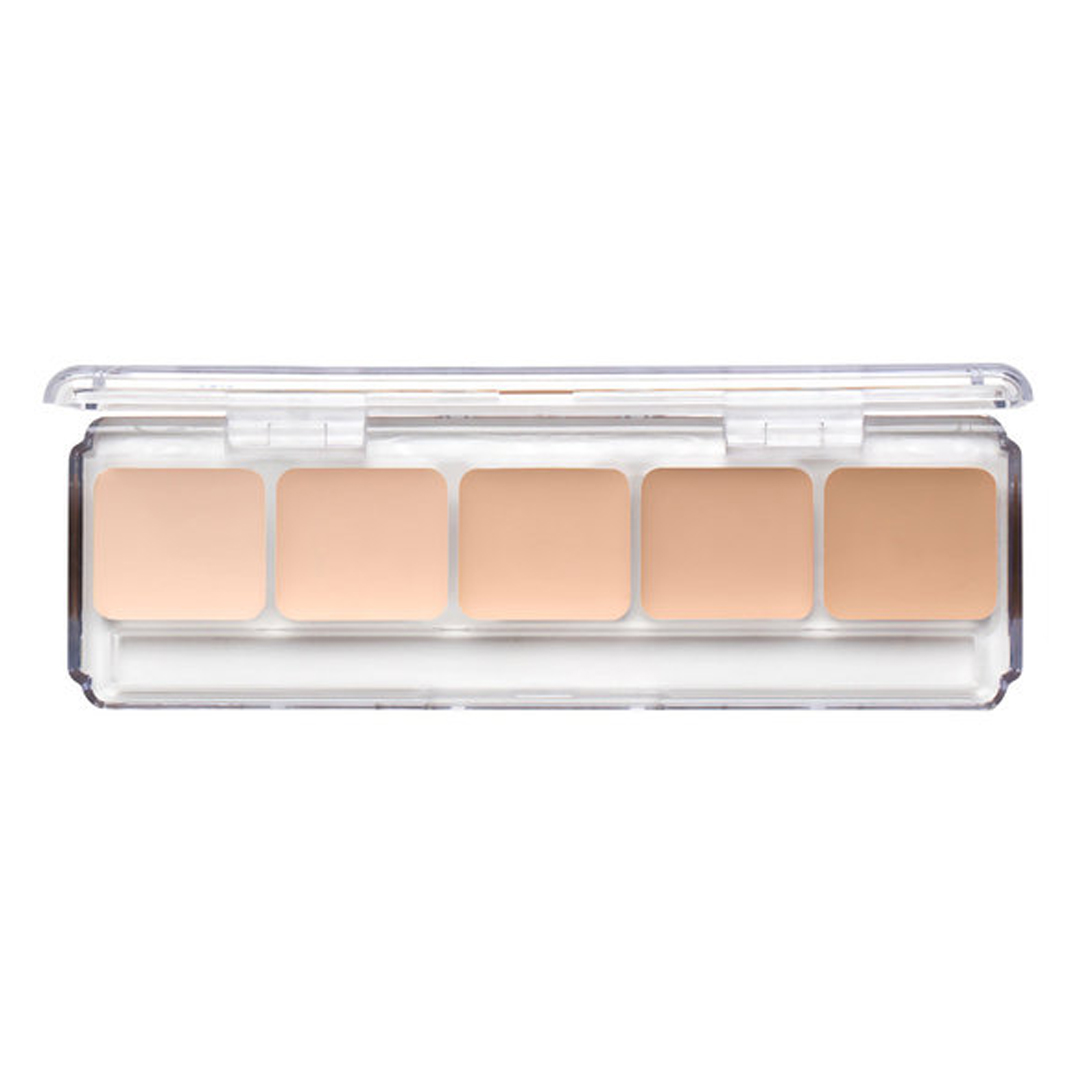
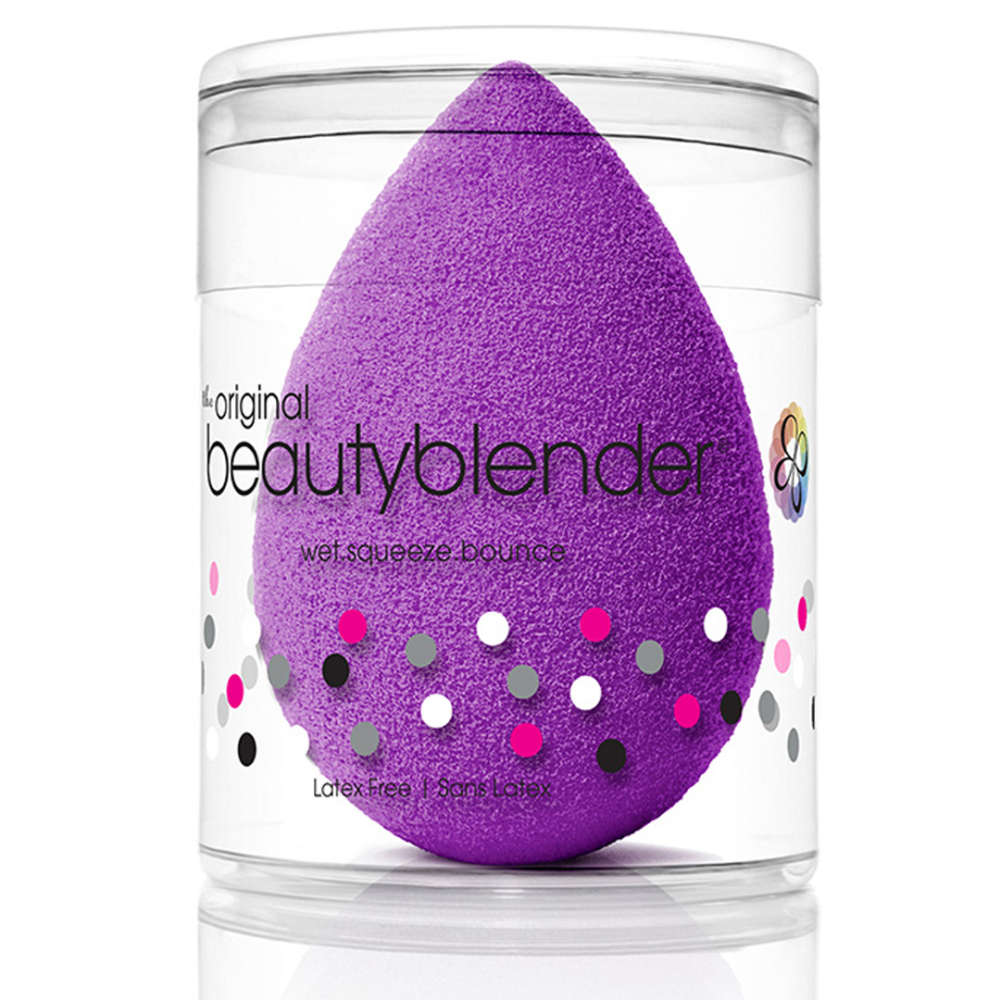
After applying primer all over my face with my fingers, I dab RCMA’S 5 PART SERIES FAVORITES PALETTE for my foundation, and blend it out with a BEAUTYBLENDER.
Once my foundation is blended, I like using a good concealer such as MAYBELLINE’S INSTANT AGE REWIND ERASER to highlight my forehead, middle of my nose, cupid’s bow, and chin, and conceal my under eyes. I use the same BEAUTYBLENDER to blend it out.
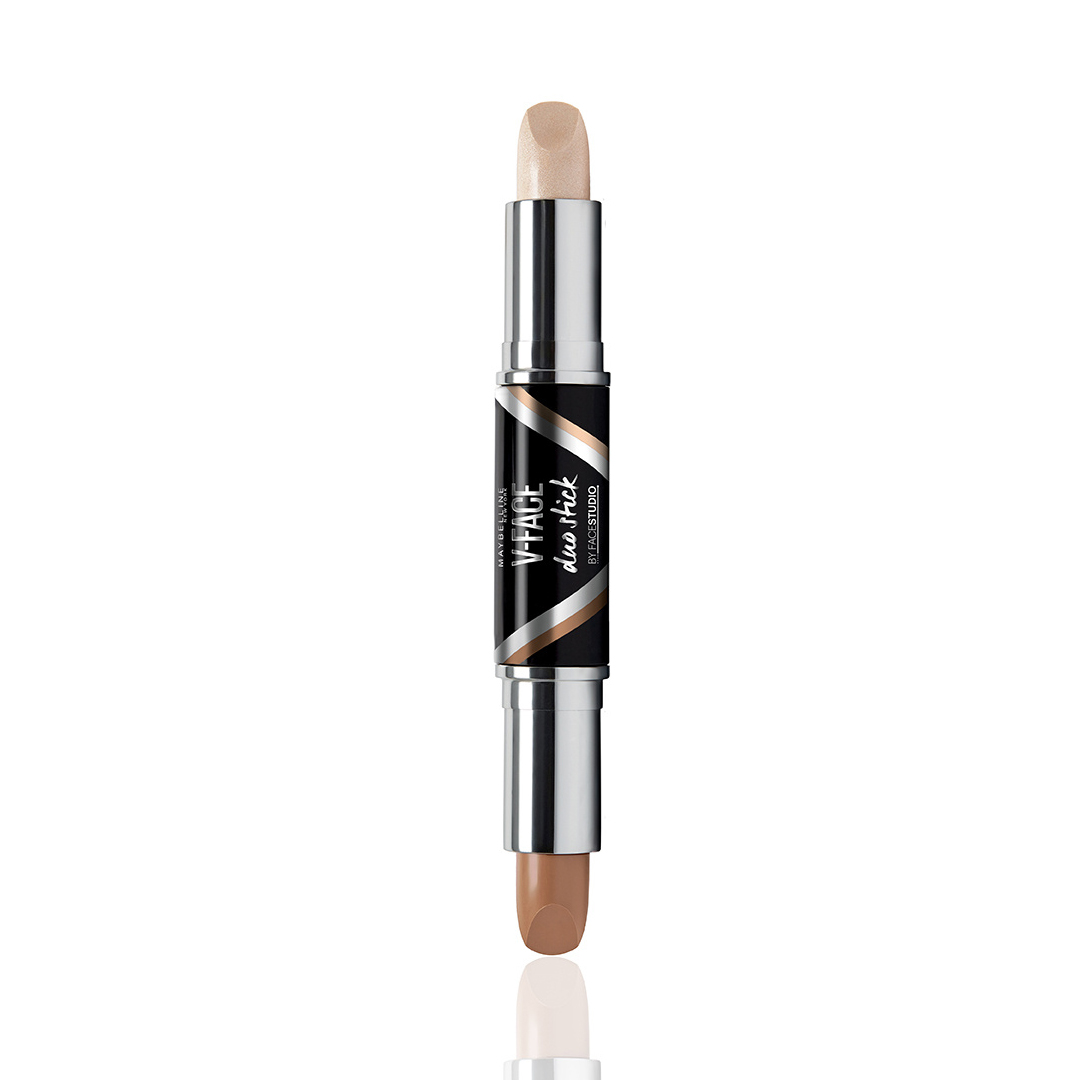
After concealing and highlighting, I take MAYBELLINE’S V-FACE DUO STICK to contour my cheeks, jawline, sides of my nose, and temples. This gives the illusion of a slimmer, more defined facial structure. Use the other side of your BeautyBlender to dab and diffuse harsh lines.
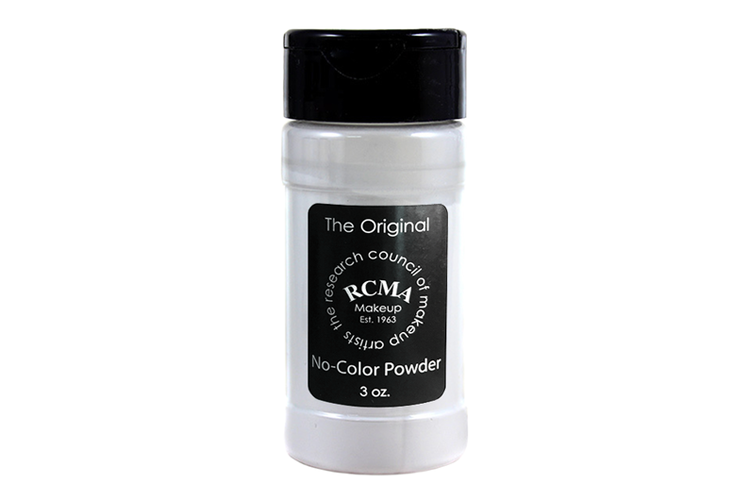
As soon as I’ve applied all my creams and liquids (primer, foundation, concealer, and contour), I set it with a loose, translucent powder using a cult-favorite: RCMA’S NO-COLOR POWDER. I also use this powder to “bake” my under eyes and set the concealer in place, to prevent it from caking. Another benefit of “baking” is that it catches any fallouts when you’re applying your eyeshadow, so it’s easy to just brush it away.

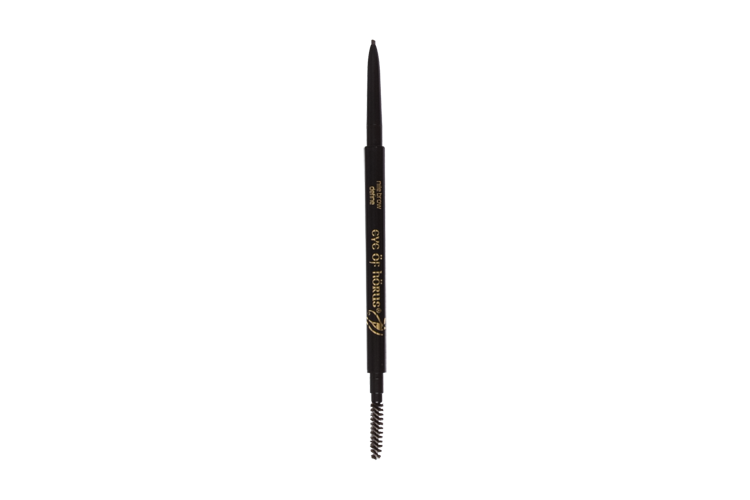
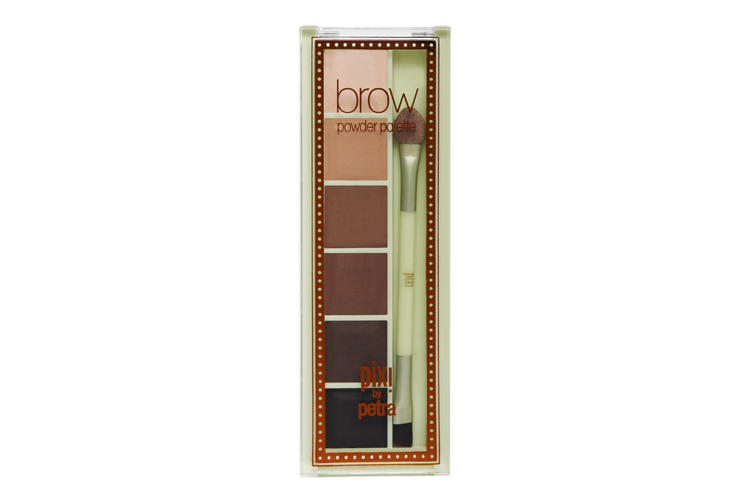
When I’m done with my base, the next part I always do are my eyebrows! I like using EYE OF HORUS’ ULTIMATE BROW DEFINE to line my brows and add faux hair—especially on the tail-end. But for the inner parts of my brows, I tend to use powder for a lighter, more natural look. My suggestion? PIXI BEAUTY’S BROW POWDER PALETTE, which can even double as a matte eyeshadow.
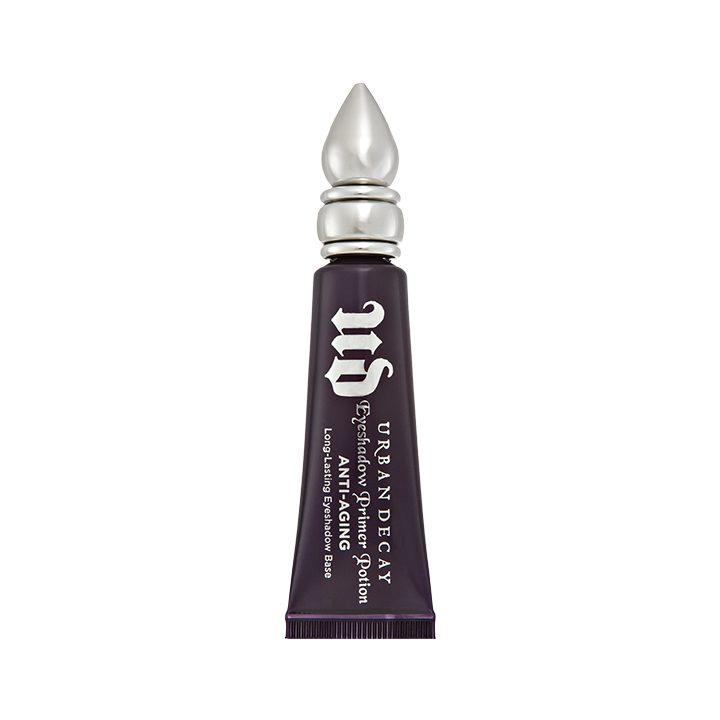
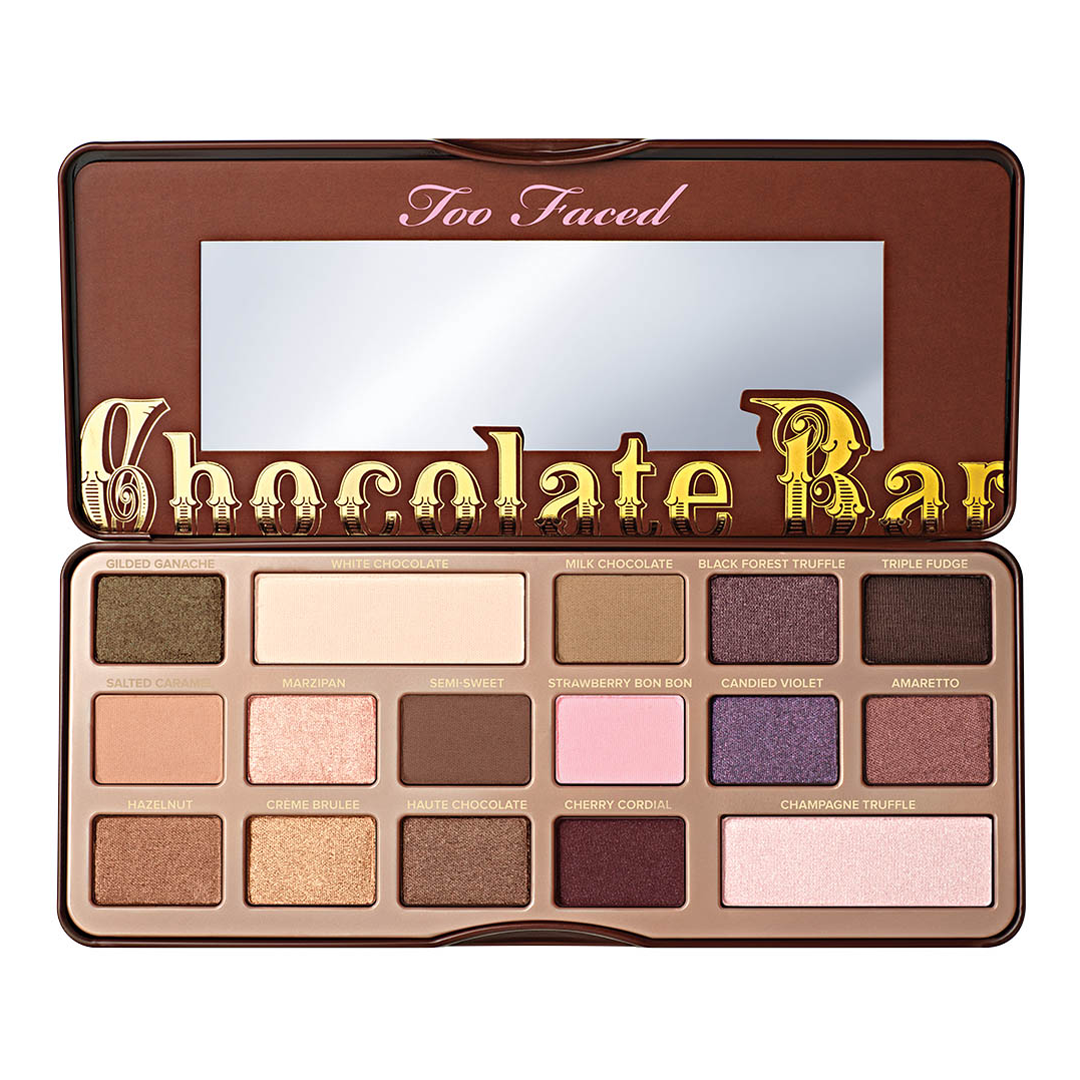
To make sure your eye makeup stays on the whole day, especially if you have oily lids like me, use an eyeshadow primer like the URBAN DECAY EYESHADOW PRIMER ANTI-AGING. And for the eyeshadow, I’m obsessed with the TOO FACED CHOCOLATE BAR, because it has such beautiful, earth-toned hues perfect for a simple yet stunning look. If you’re on a budget, a perfect alternative would be PINK SUGAR’S EYE CANDY EYESHADOW SQUAD in CAFE LATTE.
I normally stick to four shades—a matte base that I apply all over my lid, a darker matte brown for the outer V, a golden, shimmery one to dust all over my crease and create the illusion of bigger eyes, and a light, barely-there pink shimmer on the brow bone and inner corners.
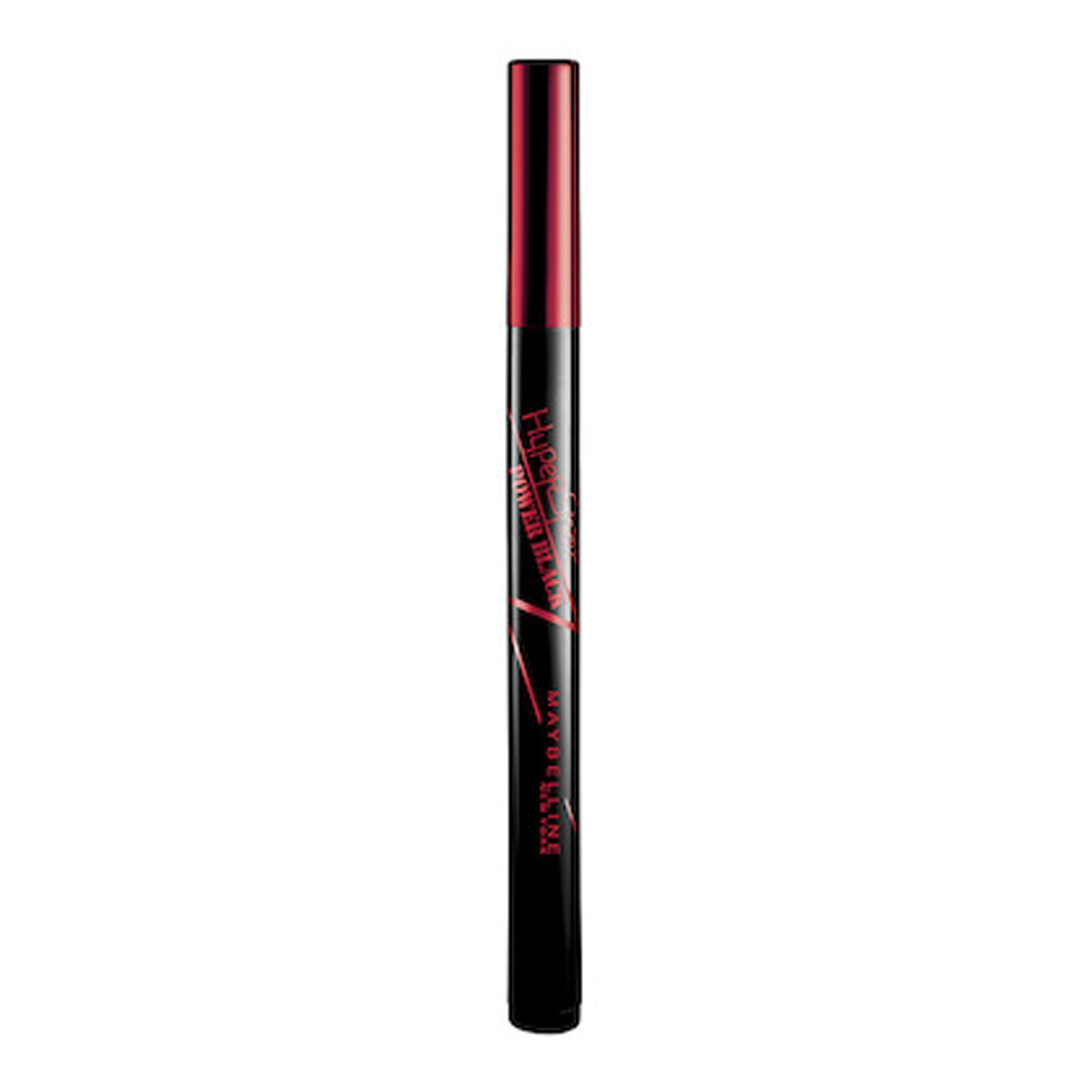
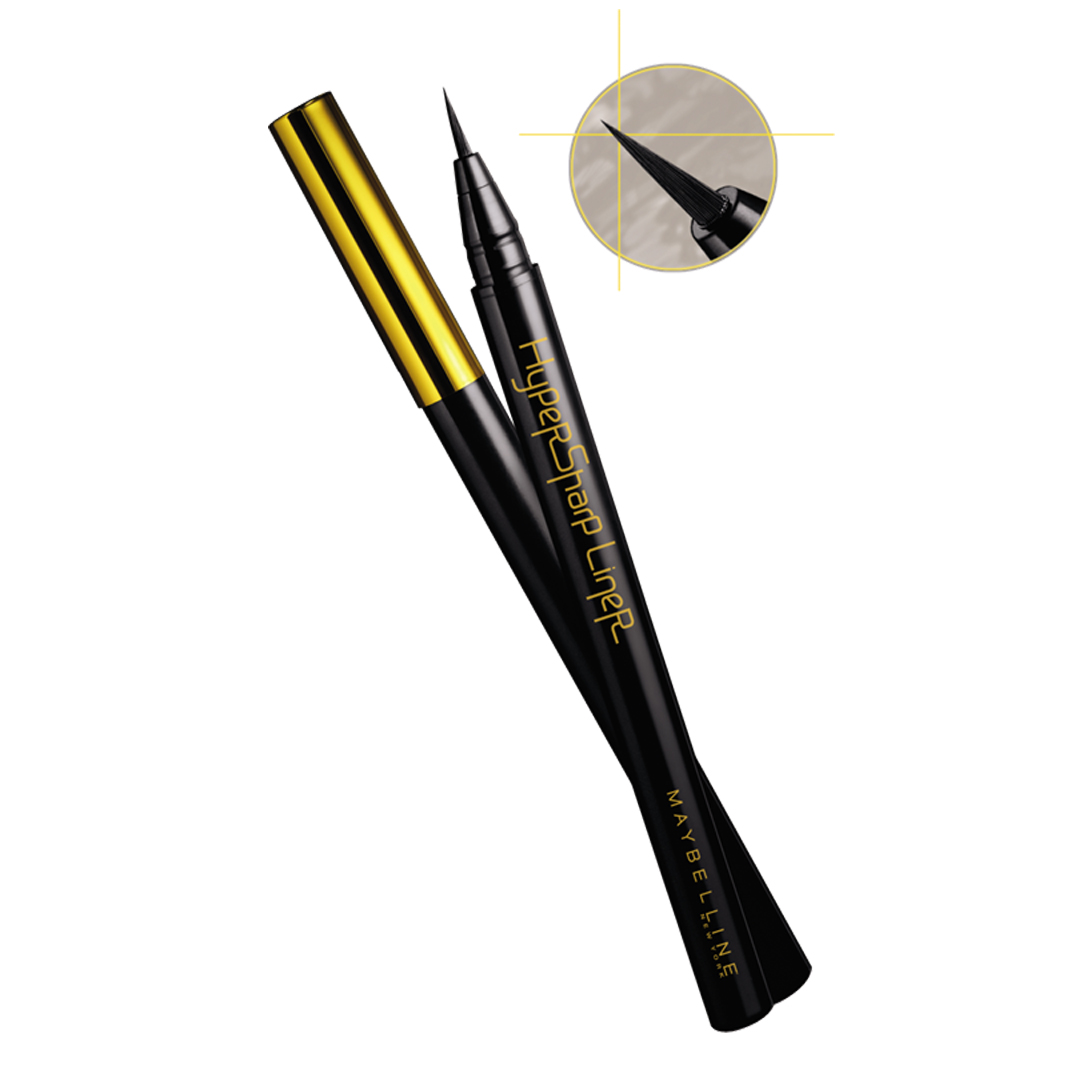
After my eyeshadow, I like using MAYBELLINE’S HYPERSHARP LINER to draw a thin wing as close to my lash line as possible. I like giving my eyeliner a small wing to, again, create the illusion of bigger eyes.
Once I’ve lined my lids, I curl my lashes, take my favorite set of falsies, and use BOHKTOH’S EYELASH GLUE to stick them. Bohktoh’s Eyelash Glue is by far the best one I’ve ever tried—during one extremely windy day where I was wearing falsies, they didn’t fly away or budge at all.
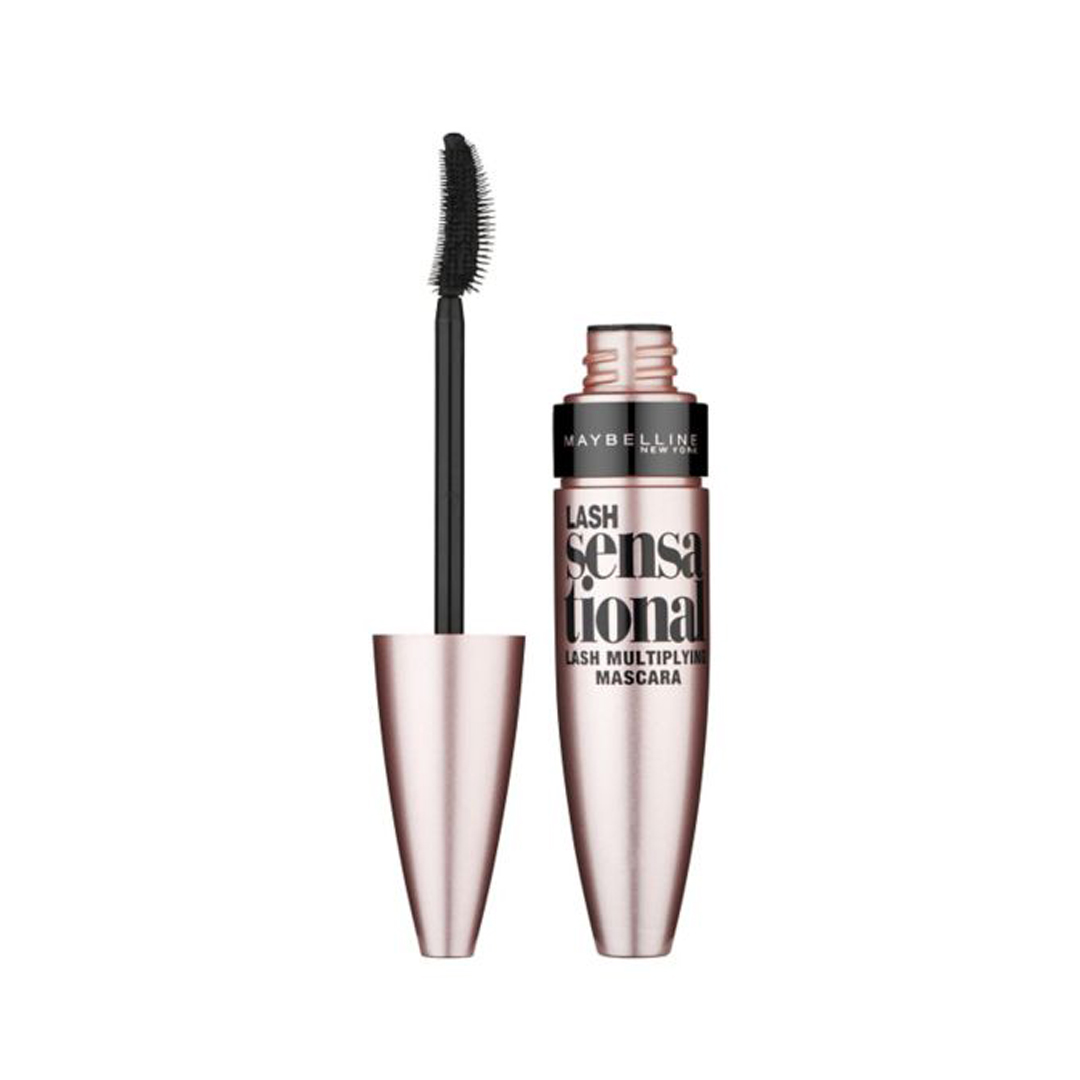
When the glue has dried and my falsies feel secure, I curl my lashes again and apply just one coat of MAYBELLINE’S LASH SENSATIONAL MASCARA. I finish it off by using the HYPERSHARP LINER again to tight-line, and make my falsies look more real and more connected to my lids.

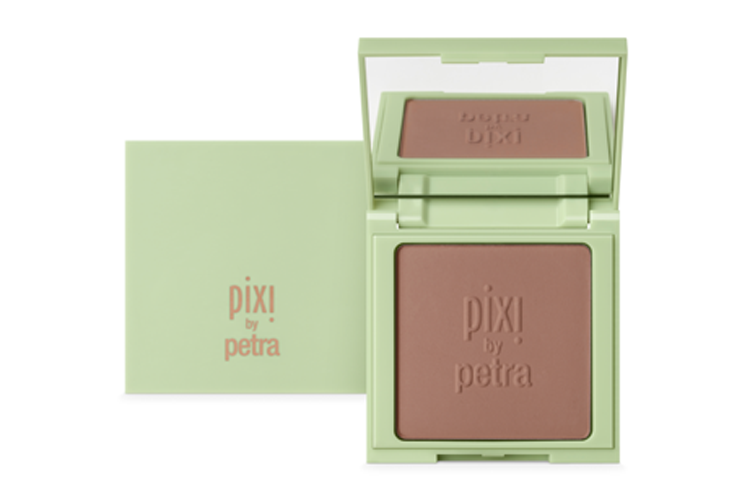
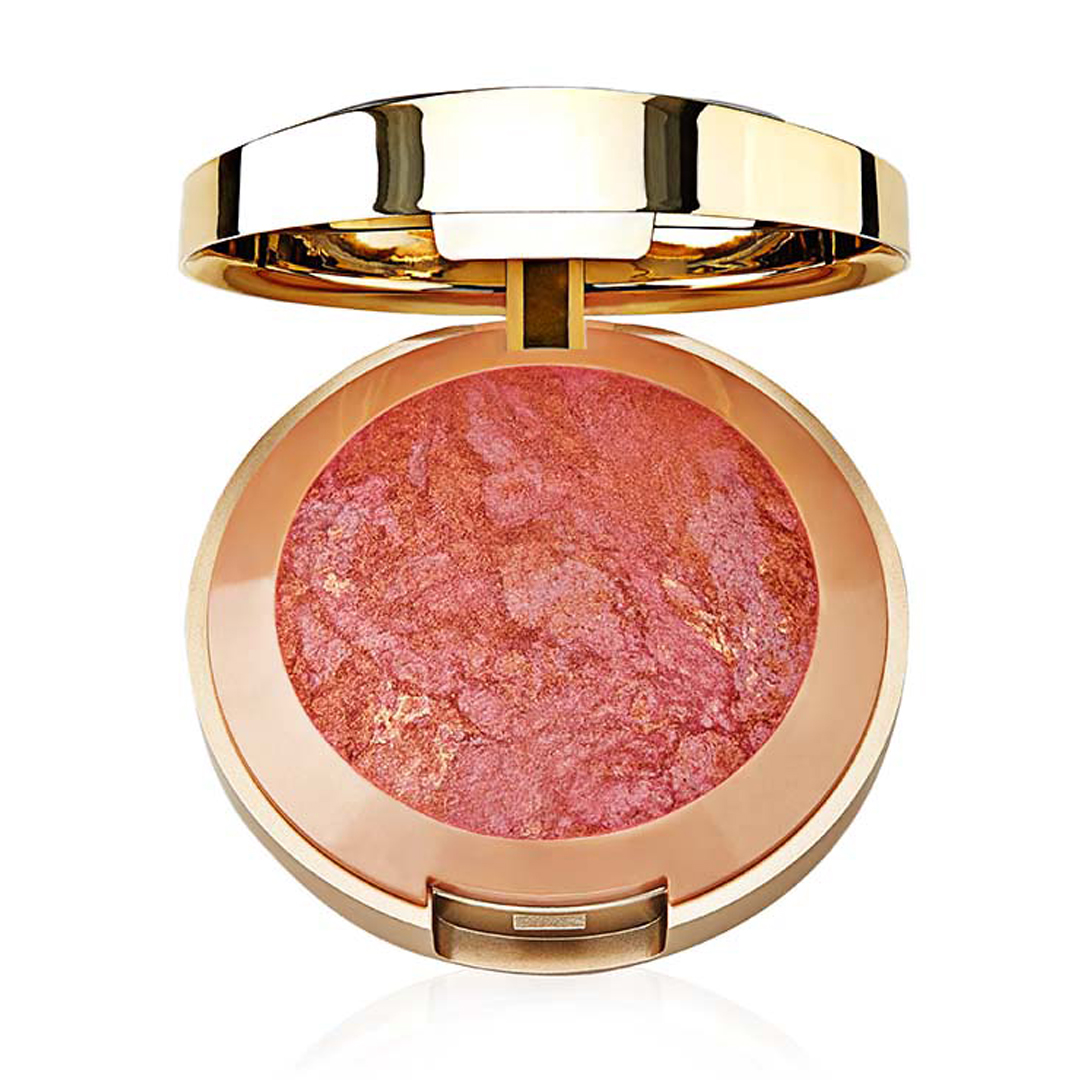
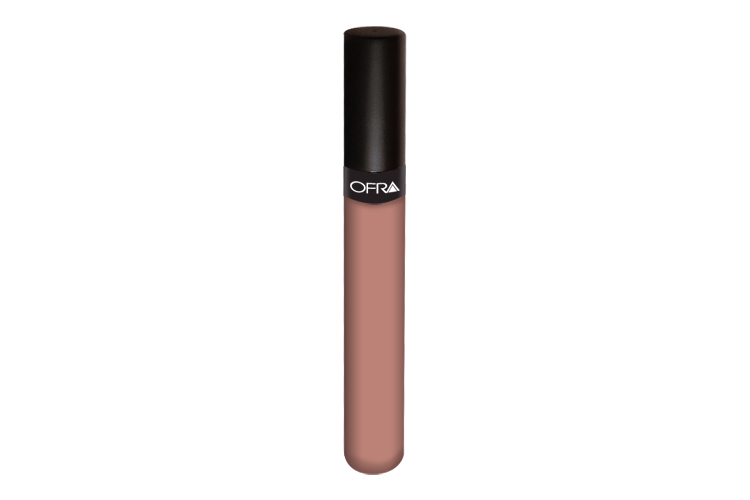
To amplify my contour, I use PIXI’S NATURAL CONTOUR POWDER and lightly sweep it with a tapered brush all over the same areas I contoured earlier. For my blush, I can never go wrong with MILANI’S BAKED BLUSH in BERRY AMORE. And for my lips, always my go-to is OFRA’S LONG LASTING LIQUID LIPSTICK in LAGUNA BEACH.
The steps may be long and might sound tedious for some, but trust me—you will never fail with this kind of makeup look and I promise—it looks good on anybody!