


Creating the perfect winged eyeliner can seem like a pretty daunting task, but don’t let that stop you; liners can smell your fear! As with anything, regular practice is truly the key in perfecting the feline flick, but that’s not to say that there aren’t methods you could learn to speed up the process. Here are a few tips that I’ve personally learned over the years to help evolve my messy little squiggles into a full cat eye.
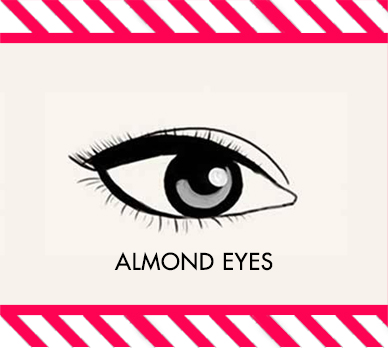
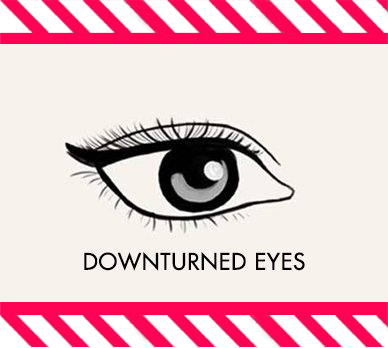
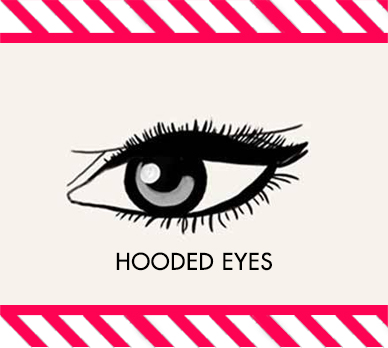
TIP #1: LEARN YOUR EYE SHAPE AND WHAT STYLES LOOK BEST WITH IT.
Just like contouring, much of how we apply the product is all up to our natural shape. If you’ve ever drawn eyeliner that seemed too awkward, too tilted, or too long, chances are that you’re trying to recreate a look you’ve seen on someone else, rather than trying to flatter your own unique eye shape. Take time to experiment to see which style you like looks best on you specifically! Makeup.com gives a wonderful rundown on identifying your shape and which styles suit it best, so read it here if you need a guide.
TIP #2: CHOOSE YOUR FIGHTER APPROPRIATELY: PENCIL VS. LIQUID VS. GEL
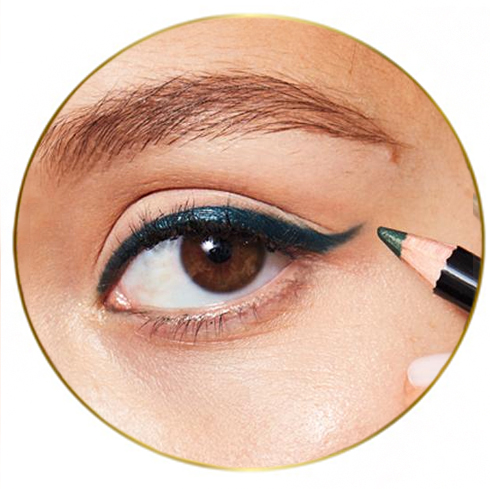
The eyeliner style you want to achieve largely depends on what medium you have. For example, eyeliner pencils may not be the best for making dramatic wings as they are softer in texture, not as opaque, and tend to round out at the tip; this makes them perfect for creating a smudged effect, tight lining, and running down the lower lash line. Of all the mediums, this is perhaps the most beginner-friendly, but I would use this only for filling in the water lines or for smoking out into an eyeshadow.
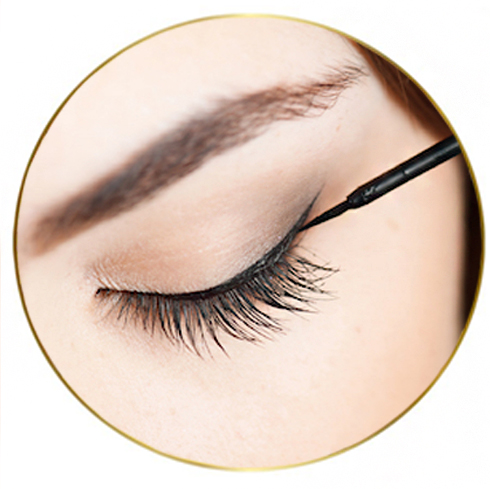
Pencils also tend to fade as we sweat, whereas liquid eyeliner really grips onto the skin (if the formula is good, that is!) for a lasting, fully pigmented flick. Liquid liners are ideal for wings, as they typically come in wand or pen forms, but cannot be smudged like a pencil. I would (and already) use this on a daily basis, as it’s the cleanest and flexible. However, be wary of liners with consistencies that are TOO watery or have a difficult shape/grip to work with.
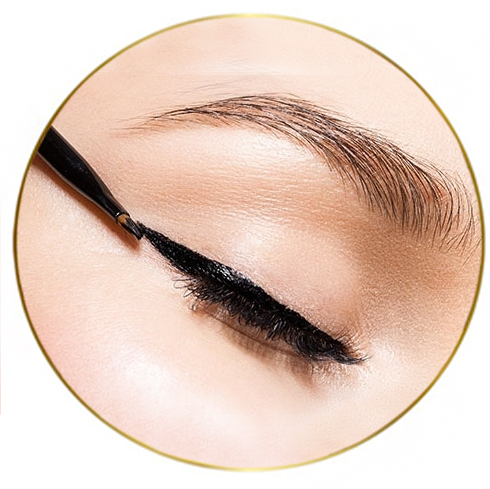
Gel liners, on the other hand, come in a pot and a small brush. This type of liner takes a little bit more of a practiced hand, as they are creamier in consistency compared to a liquid liner and may smudge up as it needs a little time to set into place. However, these are also wonderful at creating bold matte lines that will not budge for anyone or anything. I wouldn’t recommend this for beginners, but if you’re looking to get graphic, use gel.
TIP #3: DITCH THE INSTAGRAM HACKS.
Now, this one is entirely a personal preference. While it’s true that hacks such as spoons, tape, business cards, and the like can be helpful, I wouldn’t recommend it for regular use. For one thing, they may not always be available (unless you like carrying around a spoon in your makeup kit!) and may even take more time to use, as you will most likely need to fix up uneven lines. Plus, they might even move your makeup if you have base underneath!
They can function well as training wheels, but I found that free-handing your liner then suffering the consequences later really helps train your hand to get used to the motion faster—the best teacher is self-induced fear of failure!
However, if you find it more comfortable to use these hacks, then do as you please! Makeup has no rules, after all.
TIP #4: GET READY, GET STEADY, THEN GO.
Just because I like to free-hand doesn’t mean I just go in willy-nilly. There are three things I like to do to get ready for making my wing.
Chin up and half blink. Do you know how Instagram baddies do that sultry hooded eye look for selfies? Yeah, do that. By doing this, you’re forcing yourself to look down into the mirror instead of directly at it, making the surface area of your lid smoother. This lets your liner glide on with more precision, as it doesn’t snag onto any creases or folds.
Support the elbows by placing them onto a table. Of course, after you’re used to doing your eyeliner, you will eventually grow out of this habit, but by placing your elbows firmly onto a steady surface, you’re lessening the probability of shake and unwanted movement. This allows you to restrict your movement only to your wrists, as opposed to your entire arm.
Anchor using pinky or palm. A useful tip, especially for making the tail, is using your pinky/palm as an anchor point and pivoting around it, rather than moving your entire arm. This gives you added support for a steadier hand!
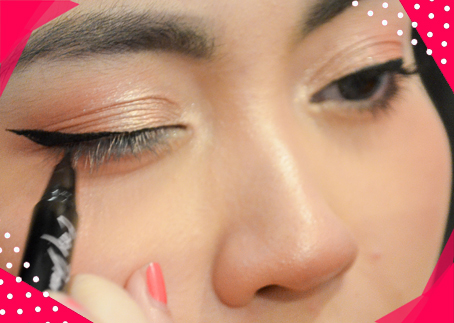
TIP #5: MAKE YOUR WING FROM THE OUTSIDE-IN.
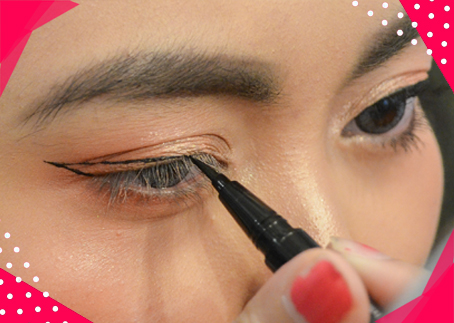
Again, this is highly reliant on a person’s dexterity and preference, but I find that creating a wing from the tail then connecting it to the inner corner is much easier than trying to finesse it outwards. This is because as we move the liner from the inner corner out, there’s tendency to push down the fatter portion of the pen tip (for reference, I exclusively use liquid liner pens, so the same may not ring true for gel brushes) as we reach the tail, causing the lines to get fatter and more rounded.
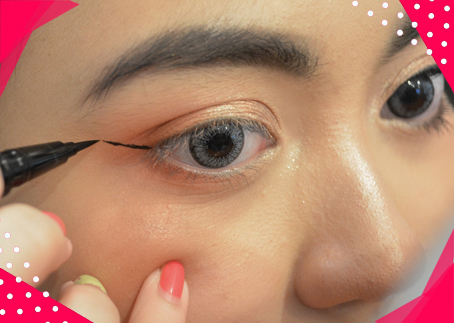
To do this outside-in method, take your liner to the edge of your lower lash line. Follow its natural upward tilt and line it out using light pressure on the very tip of your liner. Then, to create a sharp tail, release the tip gently in a small flick, causing the line to get thinner. Then, flip your hand horizontally and, from the middle of your line, connect it diagonally towards the middle of your upper lash line. Fill in the hollow triangle you just formed, then tight line all the way to your inner corner to give you a smooth, gradually formed wing.
TIP #6: KNOW WHERE TO HOLD THE PEN!
Holding it closer to the tip allows you to exert more pressure, whereas holding it towards the butt-end makes you apply lighter presser. I typically hold it towards the pen tip to do the outlining, then I hold it towards the end to do minor fixes and filling in. Experiment to see which grip works best for you!
TIP #7: DON’T FORGET TO TIGHT LINE AND APPLY MASCARA!
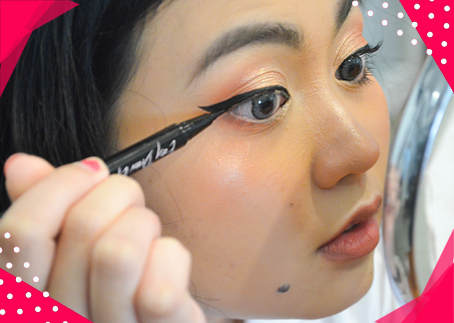
By lining your upper lash line and filling in the empty space, your look not only becomes cleaner and more put together, but you also give the illusion of an elongated almond shape. Then, by making sure you coat both the upper and lower lash lines, you pull the whole look together!
BONUS: SOME LINERS I SWEAR BY
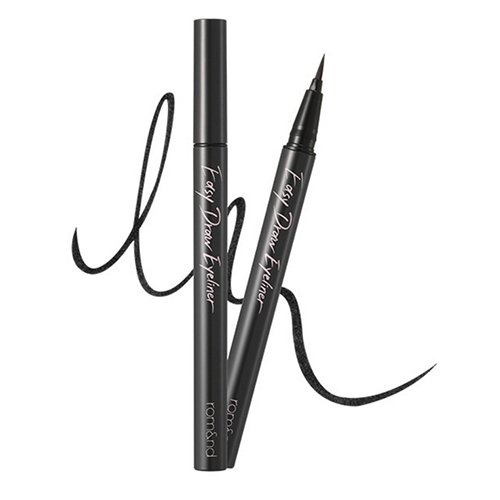
ROM&ND EASY DRAW EYELINER, P 400

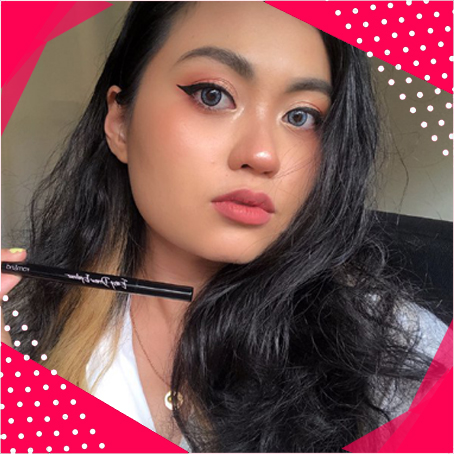
Julia Benito
Julia is Calyxta’s resident crazy plant lady with an unstoppable caffeine addiction and an ever-increasing love for glitter eye shadow. When she’s not staring out the window mulling over the correctness of her grammar, she can be found drawing on eyeliner, watching anime, reading books, or petting strangers’ dogs.
Other Products You Might Like:
-
EXAGGERATE SMOKE N’ SHINE – LITTLE BLACK SMOKEY 001
PHP 390 Choose Option Quick View Brand: Rimmel -
Glossier Pro tip Black
PHP 1,350 Choose Option Quick View Brand: Glossier -

KIM Waterproof Brush Pen Eyeliner
PHP 349 Add To Cart Quick View Brand: Kim Korean Beauty -
KissMe Heroine Make Eyeliner – Black
PHP 845 Choose Option Quick View Brand: Kiss Me